
Pet Photography
How to Photograph Your Dog
Your phone is full of photos of your dog, and almost none of them look the way your dog looks to you. That gap is not about equipment. It is about light, height, timing, and knowing what to ask of an animal who has no interest in holding a pose. Here is how I work when I photograph dogs on the Central Coast, and how you can use the same approach at home this weekend.
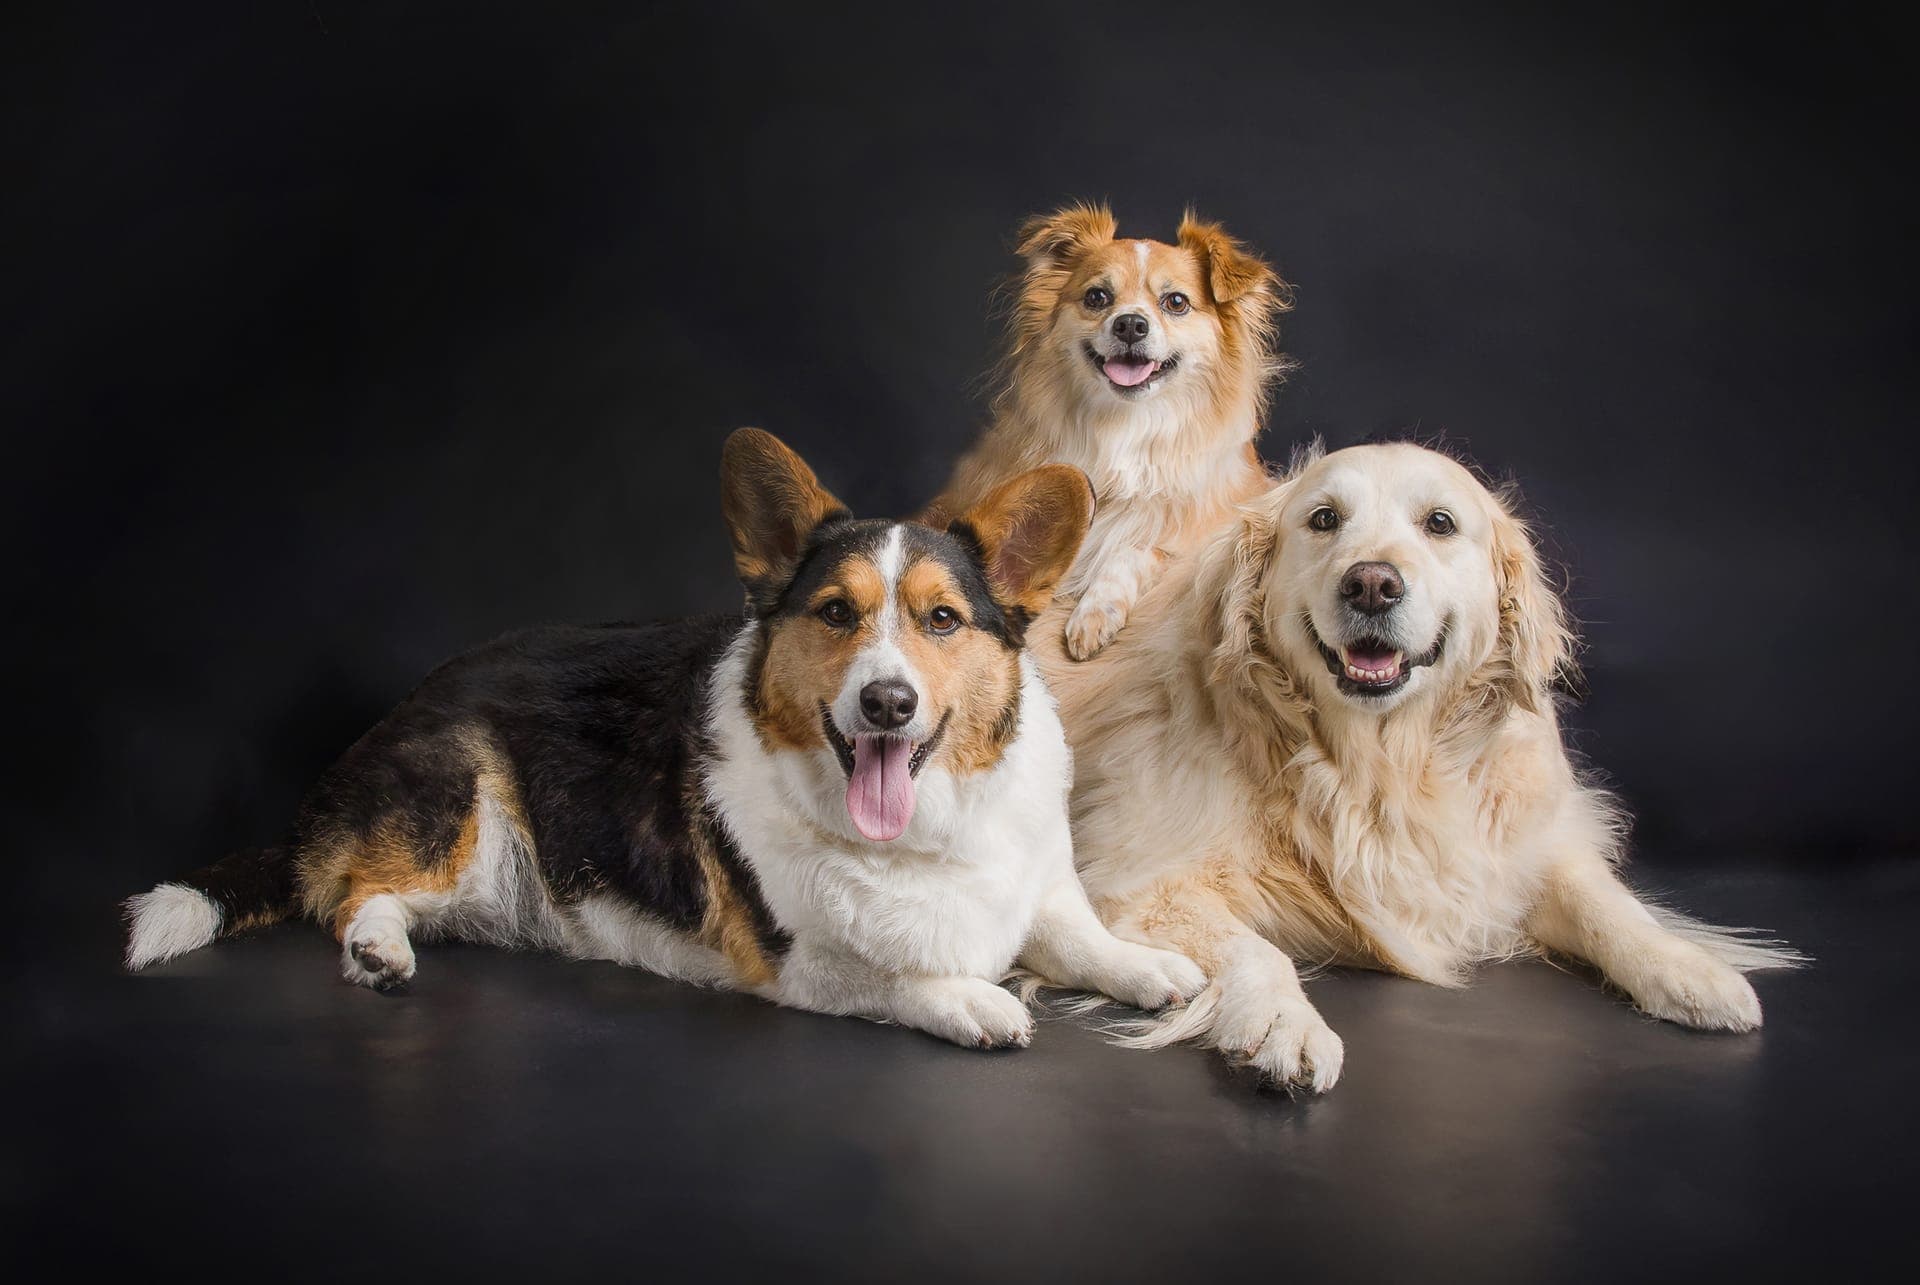
Start With the Light, Not the Camera
If you change one thing about how you photograph your dog, change when and where you do it. Overhead midday sun is the hardest light there is: it digs shadows under the brow so the eyes vanish, and lost eyes are the one problem no amount of editing will rescue. Your dog will squint, too, which reads as discomfort in every frame.
Instead, work in the hour before sunset or the hour after sunrise, when the light is low, warm, and soft enough to wrap around a face rather than cut into it. If you can only shoot in the middle of the day, find open shade — under a tree, along the shaded side of a building, on a covered porch. Shade is even and forgiving, and it lets your dog relax their eyes.
Indoors, turn off every lamp and overhead fixture and use a window instead. Put your dog a few feet back from the glass, facing it or turned slightly away, and stand with the window behind your shoulder. Household bulbs mixed with daylight produce color casts that are genuinely difficult to correct; one clean source of light is always better than three competing ones.
Ten Tips for Better Photos of Your Dog
Everything below is expanded on later in this guide, but if you are heading out the door with your dog and your phone, this is the short version.
- 1Shoot in the hour before sunset, the hour after sunrise, or in open shade — never in overhead midday sun.
- 2Get down to your dog's eye level, even if that means lying on the ground.
- 3Focus on the eyes and let everything else fall where it may.
- 4Use burst mode and take far more frames than you think you need.
- 5Bring a helper — one person handles treats and sound, the other handles the camera.
- 6Save the best treat and the newest squeaky toy for the moment you actually need the ears up.
- 7Pick a plain, uncluttered background so nothing competes with your dog.
- 8Fill the frame: move closer, or zoom in, rather than cropping heavily later.
- 9Work in short bursts of two or three minutes with real breaks, water, and praise between them.
- 10Photograph the things your dog actually does — the head tilt, the sprint, the sigh on the couch — instead of only asking them to sit.
Get Down to Their Level
Most dog photos are taken from a standing human's height, looking down. That angle shrinks your dog, flattens their features, fills the frame with floor or grass, and shows the world from a perspective no one who loves that dog actually recognizes.
Kneel. Sit. Lie flat on your stomach if your dog is small. Put the camera at the height of their eyes or just below it, and everything changes at once — the background drops away behind them, their chest and shoulders read properly, and the portrait starts to feel like an encounter rather than a snapshot. I have spent a good portion of my career on the ground in the sand at Pismo Beach for exactly this reason, and it is still the single fastest improvement anyone can make.
Nail the Eyes, and the Rest Forgives You
Sharp eyes are what separate a portrait from a photo of a dog. If you are using a camera, turn on continuous autofocus and animal or eye detection if it is available, and shoot in bursts. If you are on a phone, tap directly on your dog's eye to set focus before you shoot.
Shutter speed is the other half of this. Dogs move constantly, even when they appear to be sitting still — a head turn is enough to soften a frame. Around 1/500 of a second handles general movement, and 1/1000 or faster is what you want for a dog at a full run through the surf. In dim light, raise your ISO instead of slowing the shutter. A little grain is a fair trade; blurred eyes are not.
Also watch your depth of field. A wide aperture around f/2.8 gives that soft, creamy background, but it is a thin slice of focus — if you are photographing two dogs, or a long-nosed breed at close range, stop down to f/5.6 so the whole face stays sharp.
Sound, Treats, and Timing
The expression is what you are really hunting, and expression comes from sound. A squeak, a whistle, a soft kissing noise, or a nonsense word said in a rising tone will lift the ears and tilt the head. The catch is that every sound works exactly once or twice before your dog stops caring, so do not burn your best noise while you are still fiddling with settings. Get the light, the angle, and the focus ready first. Then make the sound.
Treats work the same way, and they work best in someone else's hand. If you can bring a helper, have them stand just behind you and hold a treat directly above your lens — your dog looks at the treat, which means they are looking straight down your barrel. One person managing the camera while the other manages the dog is worth more than any lens you could buy.
Keep the whole thing short. I work in bursts of a few minutes with genuine breaks between them — water, praise, a bit of play, a chance to sniff around. A dog who is having a good time gives you expressions you cannot manufacture, and a dog who has decided this is tedious will tell you so in every photograph.
Simplify the Background
Look behind your dog before you press the shutter. Garden hoses, parked cars, trash bins, laundry, a bright patch of sky between branches — your eye edits these out while you are shooting, and the camera does not. A plain wall, an expanse of sand, a hedge, open grass, or a stretch of golden field will all let your dog be the only thing in the frame worth looking at.
Distance helps too. The farther your dog is from whatever is behind them, the softer that background falls away. Moving your dog six feet forward off a fence line does more for the picture than any amount of editing afterward.
Dark Coats, Light Coats, and Why They Fight You
Coat color changes how you have to expose. A frame filled with black fur fools most light meters into brightening the whole image, so a beautiful glossy black coat comes back looking flat and gray. Dial in some negative exposure compensation and check your screen. Cream, white, and merle coats do the reverse — the meter darkens them, so nudge your exposure up, but stop before the brightest fur loses its detail entirely.
For dark dogs especially, light direction matters more than quantity. Straight-on light makes a black coat read as a silhouette with no shape to it. Light from the side or slightly behind puts highlights along the back, the shoulders, and the top of the head, and suddenly you can see the texture of the fur and the structure of the face. That is the difference between a dark shape and a portrait.
Central Coast Spots That Photograph Well
We are spoiled here, and a short drive changes the entire look of your photos. A few things I would keep in mind:
- The beach and dunes late in the day. Wet sand reflects light back up under your dog's chin, which is genuinely flattering. Check the sand temperature with the back of your hand first — it can be far hotter than it looks on a clear afternoon, and paws burn.
- Open fields and grassland around Arroyo Grande and Nipomo. Tall golden grass backlit by low sun is about as good as a background gets, especially for dark-coated dogs.
- Shaded oak canopy and trails. Even, gentle light all day long, which makes this the reliable choice when you cannot wait for sunset.
- Your own home. Do not overlook it. A window, a favorite chair, and the spot on the rug where your dog always sleeps will produce photos that mean more in ten years than anything shot somewhere scenic.
If you want to see how these settings actually translate into finished portraits, my Pismo Beach pet photography and San Luis Obispo pet photography pages show sessions in each of them.
Getting More Out of a Phone
A modern phone is more than capable of a lovely photo of your dog, with two caveats. First, avoid the ultra-wide lens up close — it stretches a nose into something cartoonish. Use the main lens, or better, the 2x or telephoto option, and step back a little. Second, be wary of digital zoom, which is only cropping; move your feet instead.
Tap the eye to set focus, then slide the exposure down slightly for a dark dog or up slightly for a light one. Portrait mode can be beautiful, though it sometimes struggles to trace fluffy outlines, so shoot a normal version of the same frame as insurance. And use burst — hold the shutter down through the head tilt. Out of twenty frames there is usually one where the ears, the eyes, and the mouth all land at the same moment.
Where Home Photos End and a Portrait Begins
Everything above will make your own photos noticeably better, and I genuinely hope you use it. What it will not do is give you a piece of artwork. The difference is not the camera — it is shaped, controlled light, a second set of hands trained to read animal body language, the patience to wait out a dog who needs twenty minutes to relax, and files prepared and printed to hang on a wall at size. That is the part I am here for.
You can see how a full session works from consultation through the reveal on the experience page, browse recent work on my pet photography page, or look at how these portraits are finished as custom wall art and designer albums. If your family is joining the photos, my guide to what to wear for family photos is worth a read first.